- Joined
- Dec 1, 2020
- Posts
- 2,528
- Reaction score
- 3,795
- Bookie:
- $ 3,000.00
- Location
- Gwinnett County, Ga.
Follow along with the video below to see how to install our site as a web app on your home screen.
Note: This feature may not be available in some browsers.
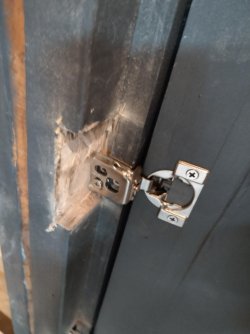
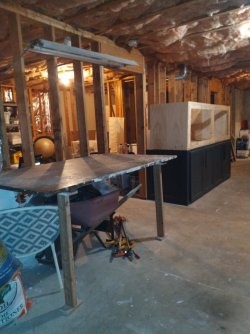
Thank you! Hanging the doors was quite a bit more finagling than usual because of the way that big heavy frame was made. If I had to do this same stand again the rough in part would be much sleeker and about 150 pounds lighter and the doors would be a breeze to hang.A man can never have enough clamps.
Nice workshop area
Expense aside, I think the brass ones look better.View attachment 47933View attachment 47934
Also if anyone wants to pick one, do you like the brass or the black handle better? I'd have to buy three more brass handles though... About 20 bucks I think.
I went ahead and grabbed a 5 pack for 17 bucks! That is very reasonable. They'd be at least five bucks each at Home Depot, if they even have them. I LOVE Amazon!Expense aside, I think the brass ones look better.
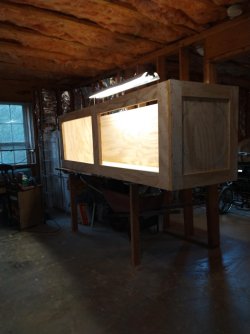
Guaranteed way to get into trouble with a project, is to proclaim how great it is going. hahahaOkay friends, this tank build is going so good, mind you, as it should go, however Cloud Nine was within my grasp and then I had my revised dimensions calculated and my tank, it only tops out at a meager 285 gallons! It has to be AT LEAST 300 gallons just to be categorized as a baby monster tank!
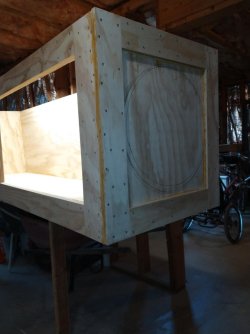
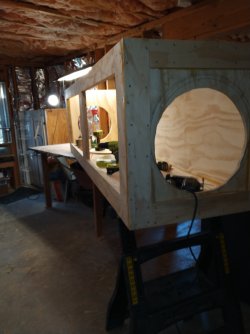
Anyway I almost got the shell all doubled up and this evening I will finish that and also fasten in the top supports. Here's a few pics of my progress.
View attachment 48221
I put it together on the bench on left side and I can easily by myself slide it back and forth from that bench to the stand.
View attachment 48222
The corners get lapped so the seams are staggered for strength and glued and screwed and screwed and screwed, these corners are rock solid. And only the right end panel will be cut for a round piece of glass.
View attachment 48223
Peace & Love, kind friends!
That's funny! I'm in all kinds of trouble then because I am kicking this build's ass right off the planet!Guaranteed way to get into trouble with a project, is to proclaim how great it is going. hahaha

I'm confused. I thought you were putting a tank inside. How are you going to line the wood inside and install separate glass panels, and not have leaking?I got a late start today. I changed my mind and decided to put glass in both ends instead of only the left end. These round holes give it a nautical feel but that is purely by chance because the glass for the ends is round.View attachment 48340
I'm taking a break now and this afternoon/evening I will indeed fasten in the top bracing.
Ah Petey Pete Pete Pete! You was dun did confused at my Guide Bear stories too... Let's get with the program, Shall we?I'm confused. I thought you were putting a tank inside. How are you going to line the wood inside and install separate glass panels, and not have leaking?

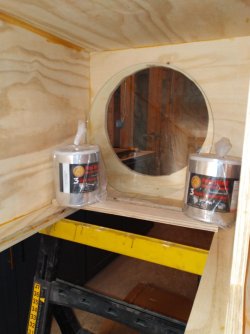
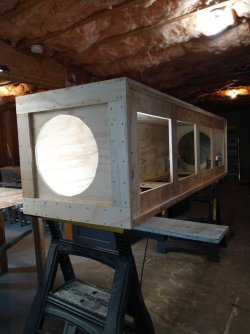
285 gallons. That doorway really took the limit down but I am very glad it will fit through a 32" door.How many gallon tank is this going to be ??
